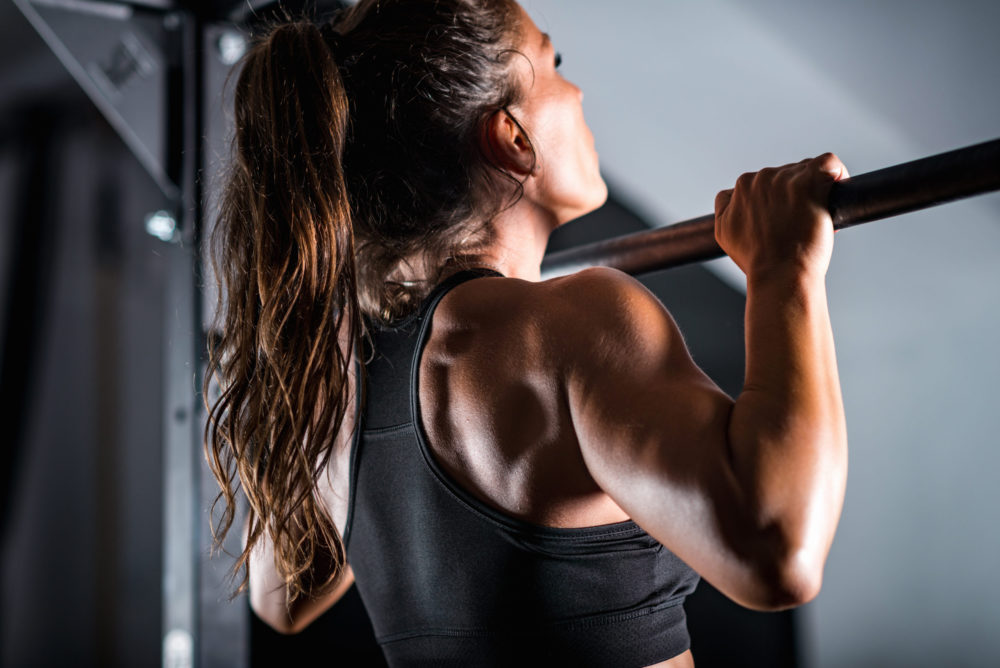
Here are 5 very innovative exercises you can do to improve your pull-up performance. While these exercises will always be “evergreen” and can be done anywhere, as I know many people are not training in gyms right now, I intentionally chose exercises that require minimal equipment. Enjoy!
1 // Prone Bodyweight Serratus/Trap Towel Drags + Band Resistance
This exercise strengthens the “pull-up” muscles, and improves shoulder and scapular controlled mobility. While I consider this to be a very useful exercise any time, this exercise can also be a great way to work on your pull-ups if you don’t have access to a bar.
Coaching Tips:
Fasten a resistance band around a secure surface, and loop the band around your ankles. Or you may do what I did, and may secure the band by putting one end under a closed door. There should be resistance in the band for 100% of the exercise.
In the starting position, your arms should be fully extended, and in an overhead position.
Now draw your shoulder blades in towards your spine and down towards the opposite hip, and pull your body forward. When you reach the end position, your elbows should be at approximately a 45 degree angle with your torso, and you should really feel the muscles around your shoulder blades and lats working.
Gain a moment of control, then perform the reverse movements and press your body backwards so your arms return to an overhead and fully extended position.
Do not keep your shoulder blades pinned. They are meant to move.
Do not allow your shoulders to shrug towards your ears. Keep your shoulder blades depressed.
Do not allow your lower back to hyperextend or flex laterally, ribcage to flare, or torso, spine or hips to rotate.
2 // Single Leg Isometric Glute Bridge + Bottoms-Up Kettlebell Screwdrivers + Single Leg Lowering
This exercise provides a huge bang for your buck and strengthens the glutes, improves lumbo-pelvic stability, shoulder and scapular stability, and grip strength. All of the above play a role in your ability to do pull-ups.
Coaching Tips:
Set yourself up as you would when you are performing regular glute bridges.
Hold a kettlebell in a bottoms-up position, and perform a bottoms-up press. Make sure your shoulder blade remains in a protracted position for the duration for the exercise (move it away from your spine and around your ribcage).
Extend your hips by pressing through the back portion of your foot and squeezing your glutes, NOT by arching your lower back. Your body should form a straight line from your knee to shoulders. Maintain this position for the duration of the exercise.
Extend your other leg so it is in a vertical position. If you cannot fully extend your knee, or if you are unable to maintain proper form, you can keep your knee bent at a 90 degree angle.
Brace your core muscles (360 degree brace around your spine), and slowly lower your leg to a range that allows you to maintain proper form. Once you hit your end range, return your leg back to the starting position.
For the duration of the exercise, perform kettlebell screwdrivers. In the starting position your palm should be in a neutral position. While looking at the kettlebell the entire time, rotate your wrist, forearm and elbow so your palm is facing away from you. Pause for a count, then perform the reverse movements and rotate the kettlebell so your palm is facing you.
Do not allow your lower back to hyperextend, ribcage to flare, torso, spine, or hips to rotate, or hips to drop.
3 // Hollow Body + Band Resisted Overhead Presses
This exercise improves lumbo-pelvic stability, and shoulder and scapular controlled mobility.
Coaching Tips:
Attach a resistance band around the bottom of your feet, and hold the band in each hand, and get into the bottom position of an overhead press.
Lift up your legs so they are in a vertical position, fully extend your knees, and point your feet away from you (plantarflex).
Brace your core muscles (360 degree brace around your spine).
Now slowly lower your legs towards the floor, and to a range where you are able to maintain proper form (and feel your anterior core muscles). Maintain this position for the duration of the exercise.
While keeping your body in a fixed position, perform overhead presses. Return your arms to the starting position, and repeat for the target number of reps.
In the bottom position, do not allow your elbows to flare out.
Do not allow your lower back to hyperextend, ribcage to flare, shoulders to shrug, torso, spine or hips to rotate, or hips to leave the floor.
In terms of breathing, do what works and feels best for you.
4 // Single Leg Supine Plank + Band Resisted Psoas Marches
This exercise improves shoulder and scapular stability, strengthens the posterior core muscles, glutes and hip flexors. This exercise is deceptively challenging, especially if it’s being performed correctly.
Coaching Tips:
Set up two yoga blocks/objects so they are parallel, and place your elbows on either yoga block.
Set yourself up so you are in a single leg bodyweight glute bridge.
Keep your shin in a relatively vertical position.
Take a deep breath in (360 degrees of air around your spine), and brace your core muscles (360 degree brace around your spine).
While you will be bracing your entire core, really pay attention to your posterior core musculature.
Now simultaneously perform a single leg glute bridge, and press your elbows away from the yoga blocks and retract your shoulder blades (move each one in towards your spine).
Your head and shoulders should be off the floor.
For the duration of the exercise, maintain this press and body position. You should really feel the muscles around your shoulder blades, and the back of your shoulders.
Your body should be in a straight line from your head to knee.
While remaining in this position, perform a psoas march and bring your knee in towards your body. Pause for a count, then lower your leg towards the floor with complete control. Stop just before your foot comes into contact with the floor.
Your chin should remain tucked, and neck in a neutral position.
Do not allow your lower back to hyperextend, ribcage to flare, torso, spine, or hips to rotate, or shoulders to collapse.
Do not allow your knee to fall inside or outside of your foot.
5 // Weight Transfers From Plank
This exercise improves lumbo-pelvic stability, and shoulder and scapular stability.
Coaching Tips:
Get into a plank position from your hands and feet. Your body should be in a straight line from your head to heels.
Your shoulders should be above your hands.
Spread your fingers and pretend you are suctioning them to the floor.
Place a weighted object on one side of your body, and so it’s directly below your shoulder.
Before each rep, take a deep breath in (360 degrees of air around the spine), brace your core (360 degree brace), and squeeze your glutes.
Now transfer the weight to the opposite side of your body. Repeat using the opposite arm.
Pay attention to your non-working/supporting side. Push away from the floor and protract your shoulder blade (move it away from your spine and around your ribcage). Do not mindlessly hang out.
Do not let your lower back hyperextend, ribs flare, torso, spine or hips rotate, weight shift from foot to foot, or hips pike or collapse.
Aside from your moving arm/shoulder blade, the rest of your body should remain in a fixed position for the duration of the exercise.
In terms of breathing, do what works and feels best for you.

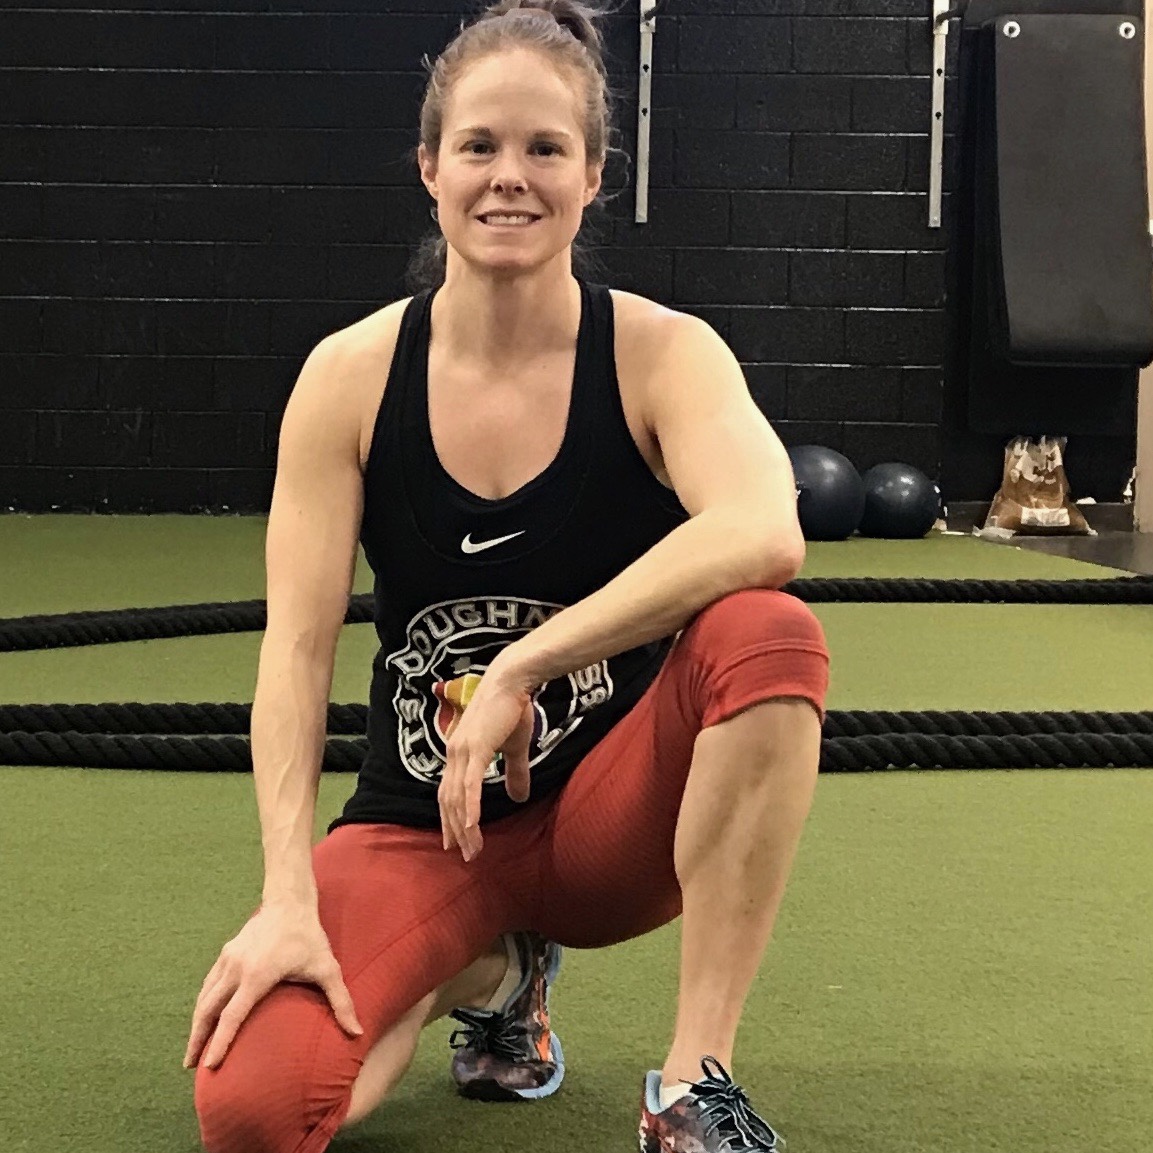
Meghan Callaway is a strength coach, writer and creator of The Ultimate Pull-Up Program, currently being followed by over 1100 women and men worldwide.
